|
Zombicide - Invader
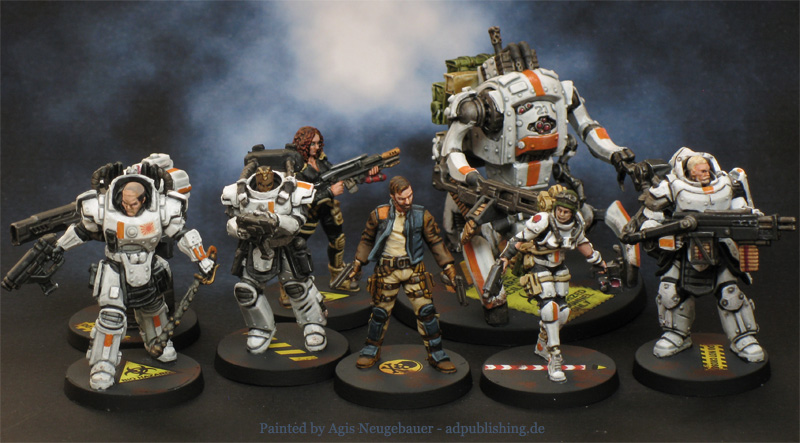
Mission accomplished: all Surivors and their supporters of the core Invader box are painted.
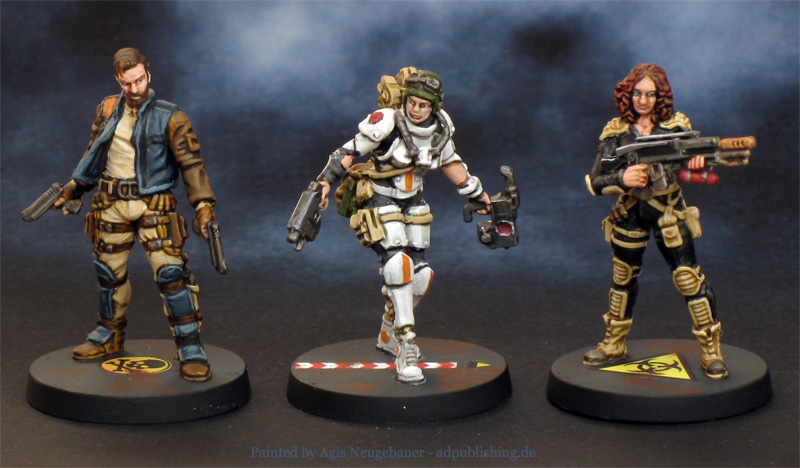
The Civilians!
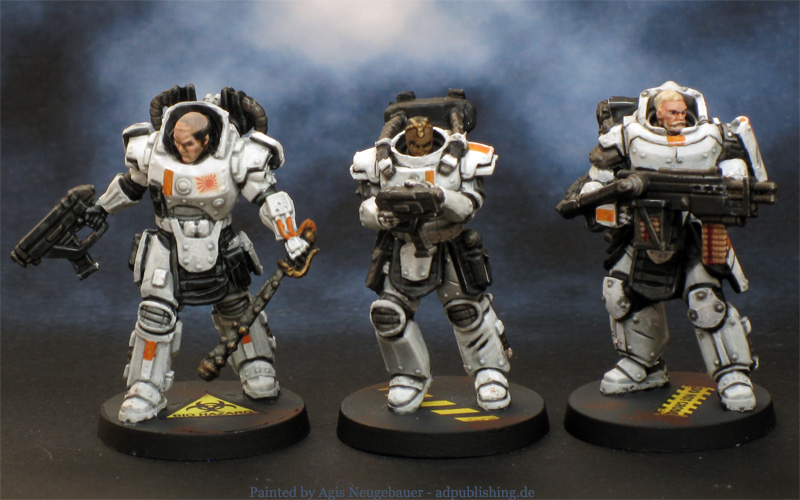
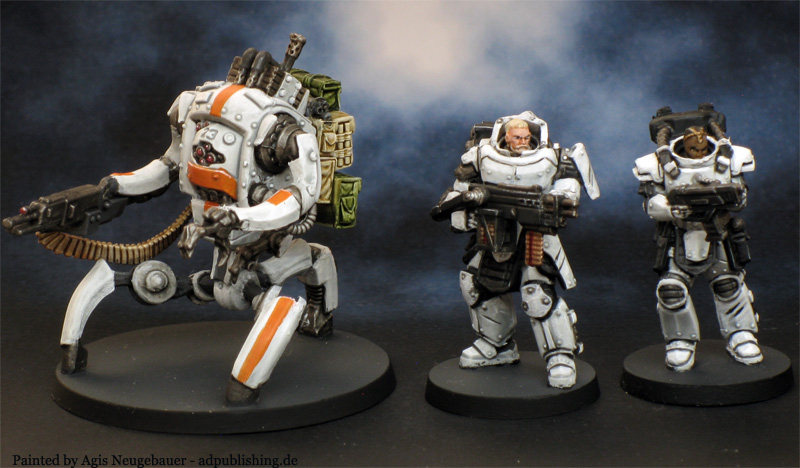
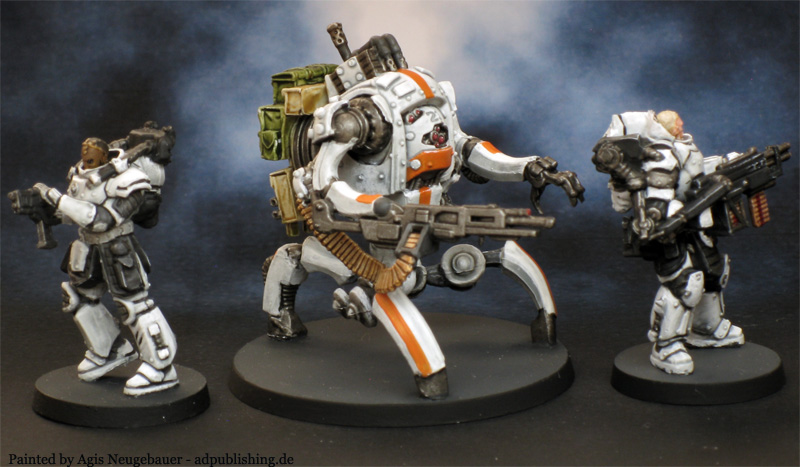
The Military Survivors.
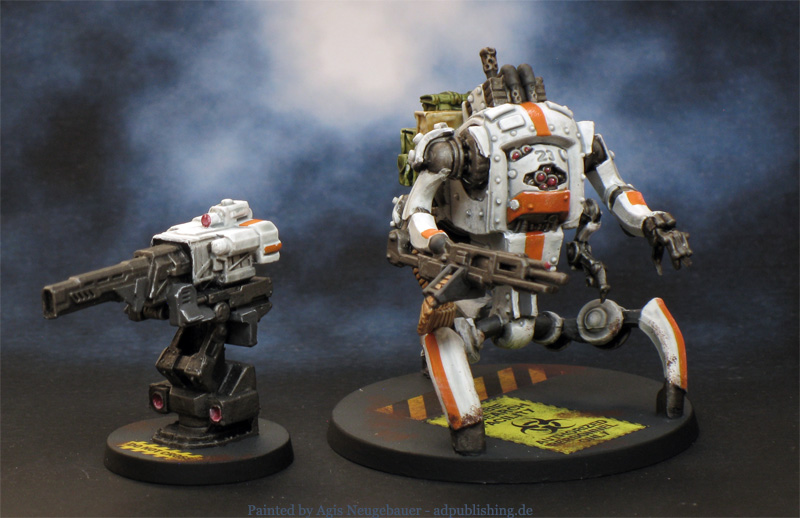
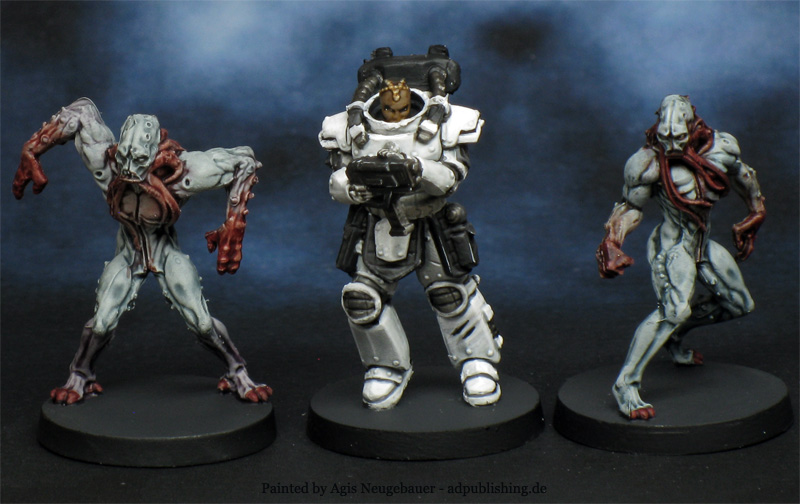
The sentry gun and the Peacekeeper Bot.
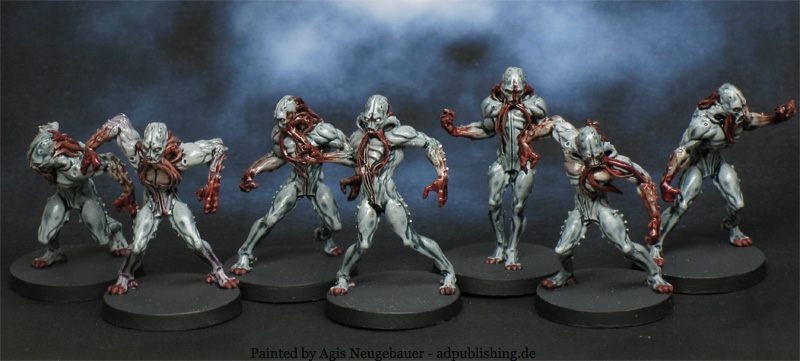
2 Worker Aliens and Baraka right out of the core Invader box.
The Peacekeeper Bot, Magnus and Baraka. IMO the military Survivor have a definite Star Wars the Old Republic Havoc squad feel. I like it a lot!
As always, great sculpts, poor production, lots of moldlines and warped minis. Still I love them and will paint a lot of them.
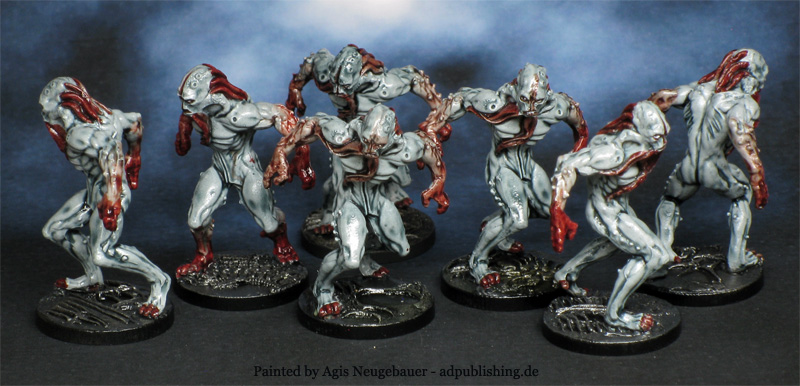
Speedpainted Worker, all 7 poses.
Speedpainted Worker.
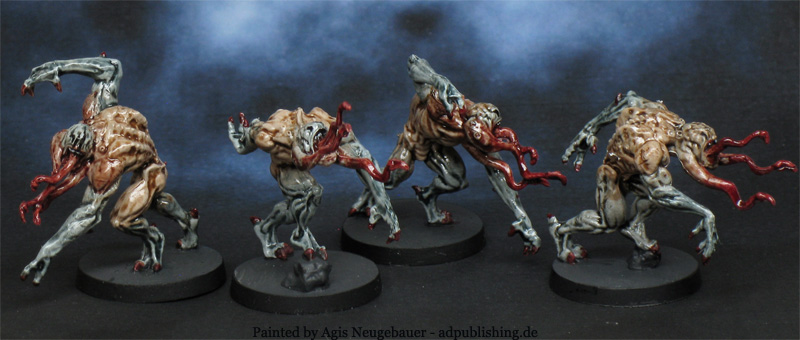
Speedpainted Hunter - all 3 poses.
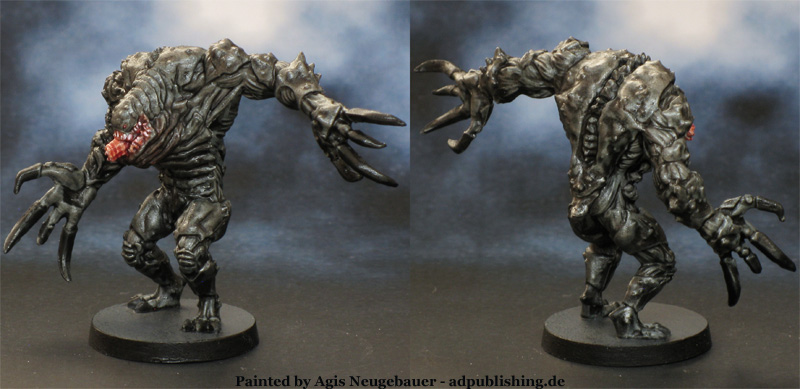
Speedpainted Tank all 3 poses.
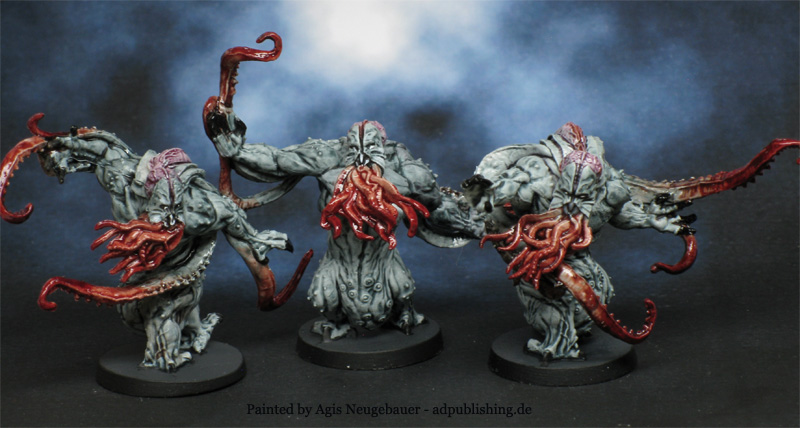
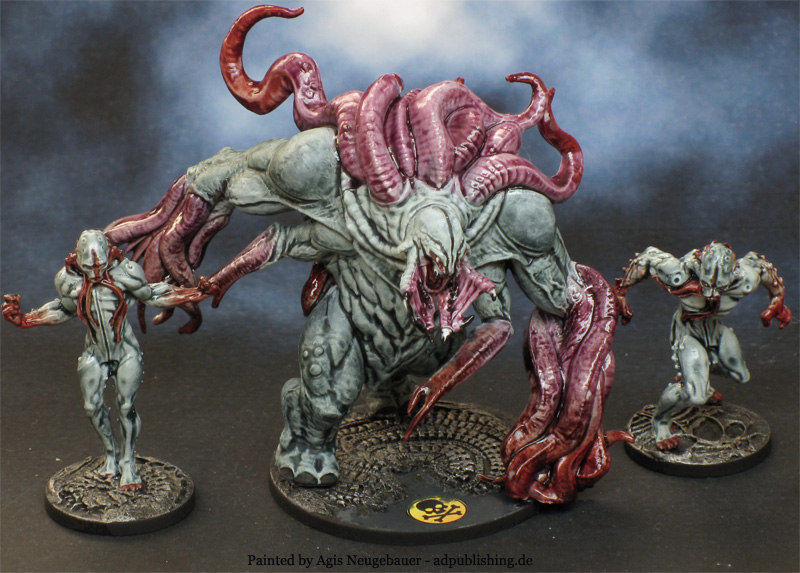
Speedpainted Xenium Horror Abomination, since I really dislike the standard Spoiler Abomination I will use this sculpt as my Spoiler stand-in.
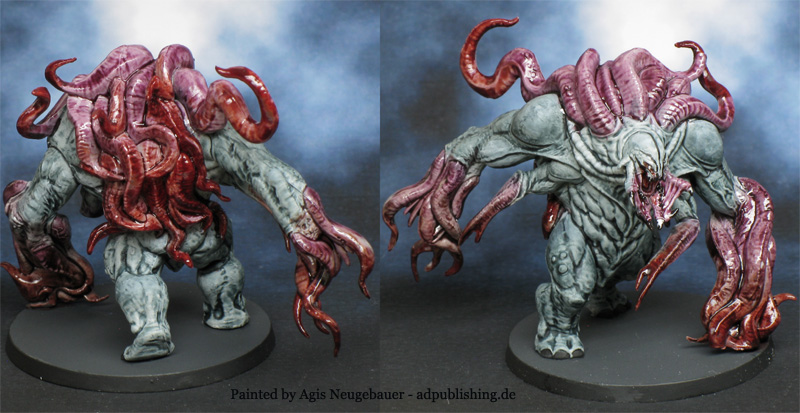
Speedpainted Xenium Horror Abomination - re-based. Round MDF with sculpted miliput.
Extra Survivors
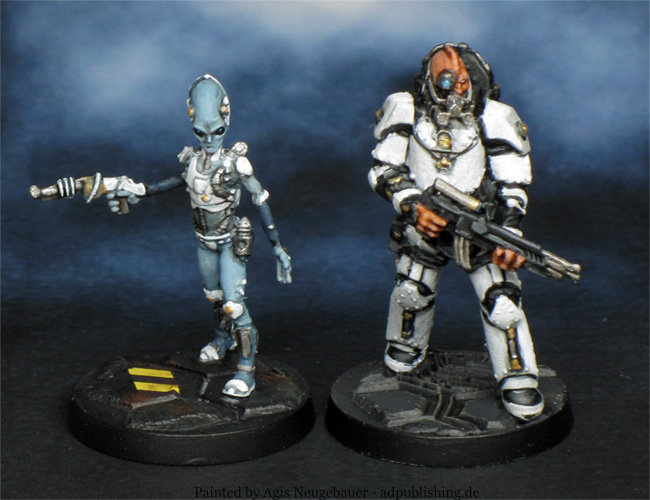
Dorian the Grey and Inshish Vak
Zinter Alhakran Dorian the Grey Kolban (Proxima Centauri-b)
Even through the medication, my head is killing me. And I hate using my mouth to speak.
If it werent for heroic doses of neural suppressants, Zinter Alhakran would be unable to function in the psychic din surrounding the invaders. As such his natural psionic talents are greatly reduced, even resorting to mere vocal chords amplified by his exosuit to be heard. The Kolbani people have been long-known to humankind, though they were relegated to urban legend for much of Earths history. Theyre only slightly sorry for all the probing. It was in the name of science!
Corporal Inshish Vak Fushnal (Trappist-C)
Im 3,345 years old. In your years, thats 22. You poor people. So few birthdays!
Fushnal (Trappist-C) is an ocean world and the innermost habitable planet of the Trappist system. As a Fushnallan, Inshish Vak is among the first of his people to take service with the UN Defense Forces as part of an exchange program between the two civilizations. While Vak might rib his squadmates about constantly missing his birthday (Trappist-C having an orbital period of 2.4 days), hes come to genuinely like human customs and traditions, especially birthday cake.
Frank and Edna Fischer
Dark Side
Driller Tank
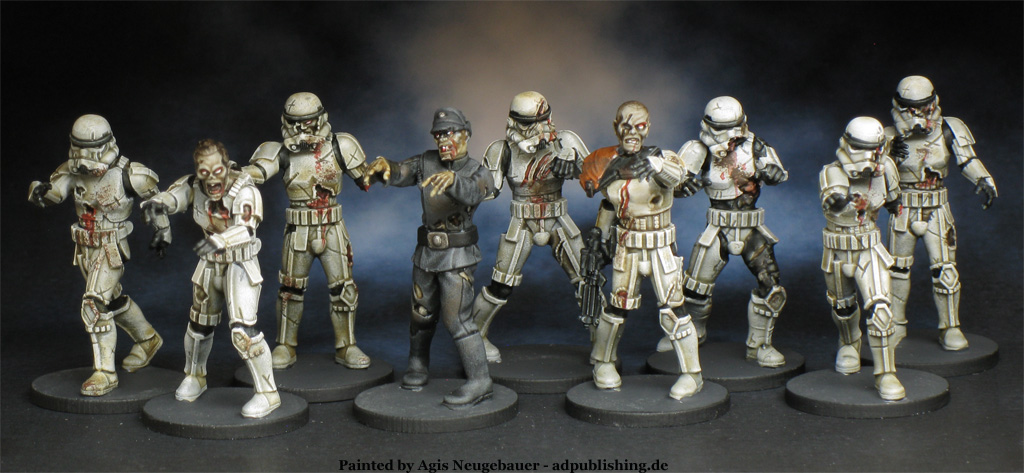
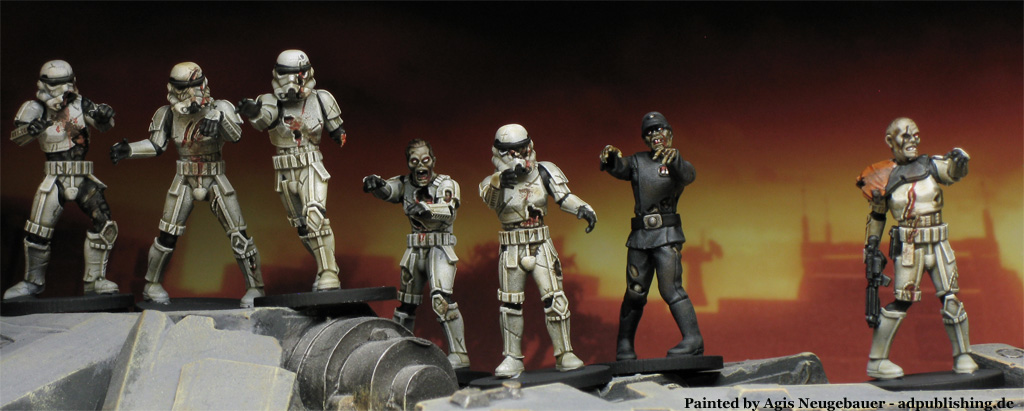
Maybe new side project - Zombie Trooper
Dark Fire Designs created some glorious Trooper Zs! I printed them via Perikles, absolut stunning quality and really good service - highly recommended!
So maybe it is time for a Star Wars Invader crossover?
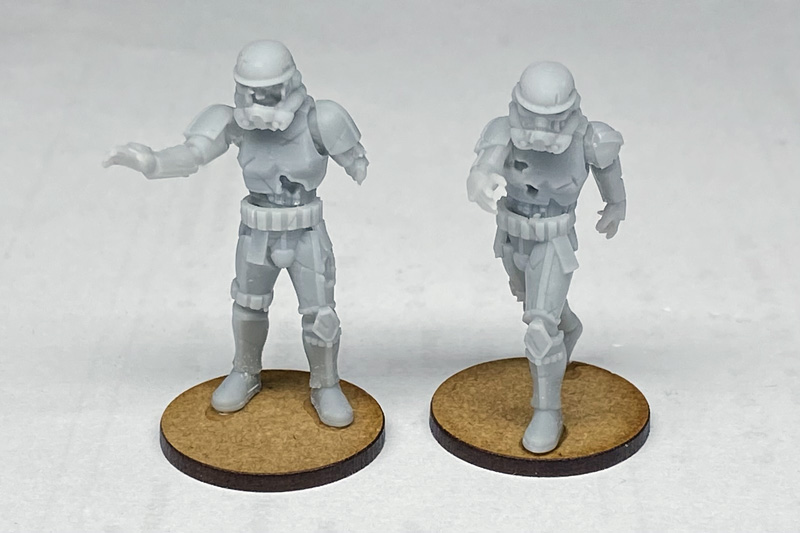
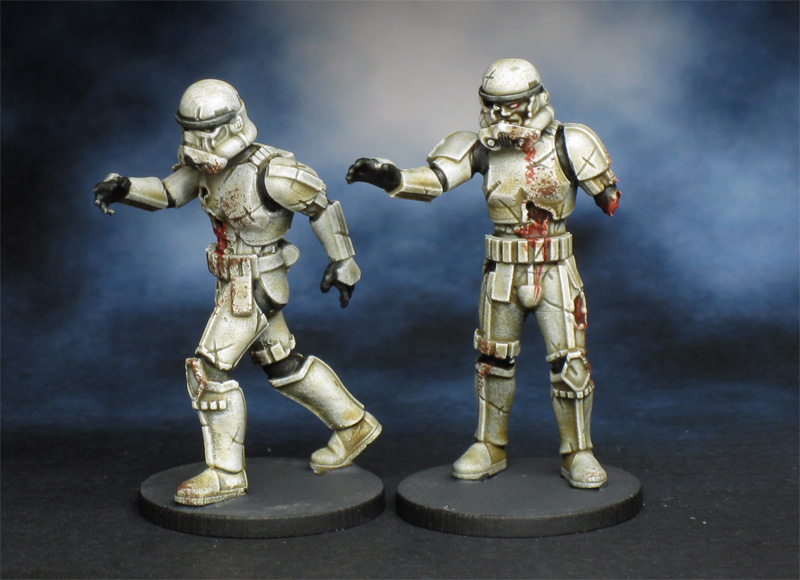
How to paint Zombie Trooper
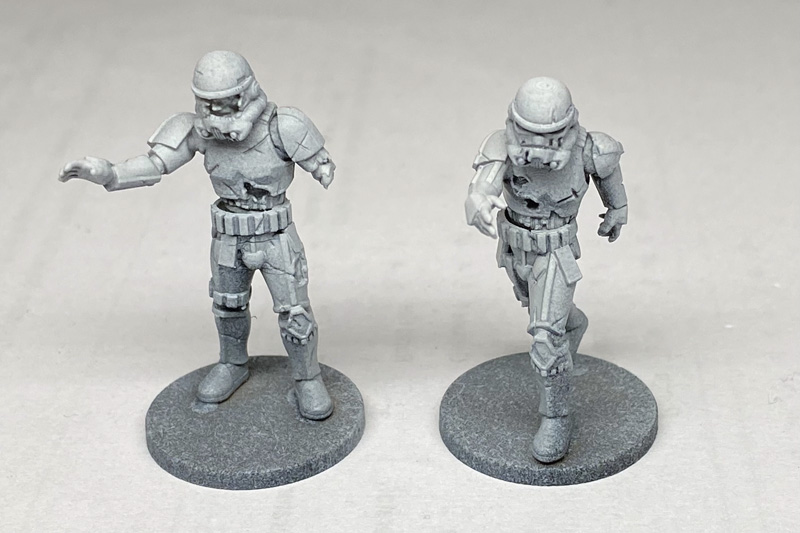
OK, form here (assembled minis on 20 mm MDF bases)...
to finish:
It is indeed a very straight forward process, no magic involved and absolutely no new techniques! If you are unfamiliar with any mentioned technique, search the net for it, there are countless very good How To videos that do a better job in explaining than me.
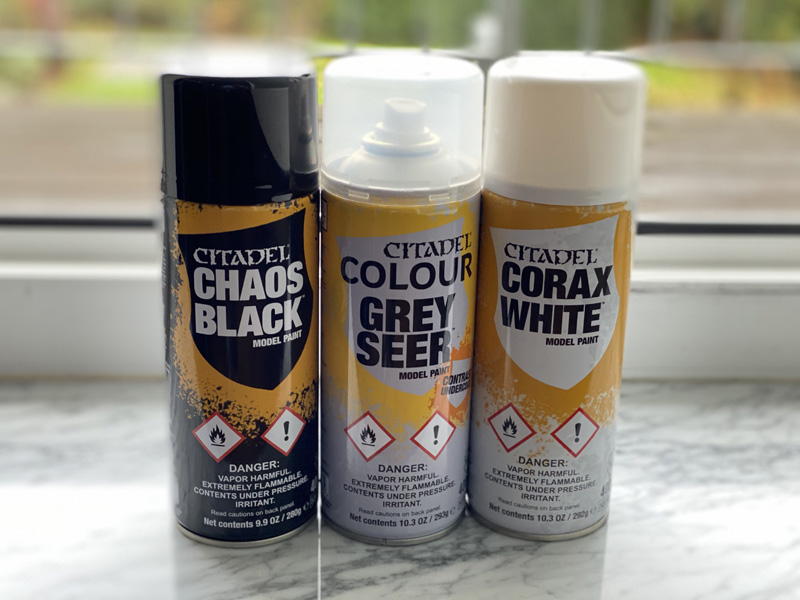
1 - Priming
I use mostly Games Workshop primer:
I start with Black (from an angle below the minis, I lay them on their side), then Grey Seer from all sides and directly after (when the colour is still wet) an light dusting from above with white.
The minis looks then like this:
As you can see they already have some depth!
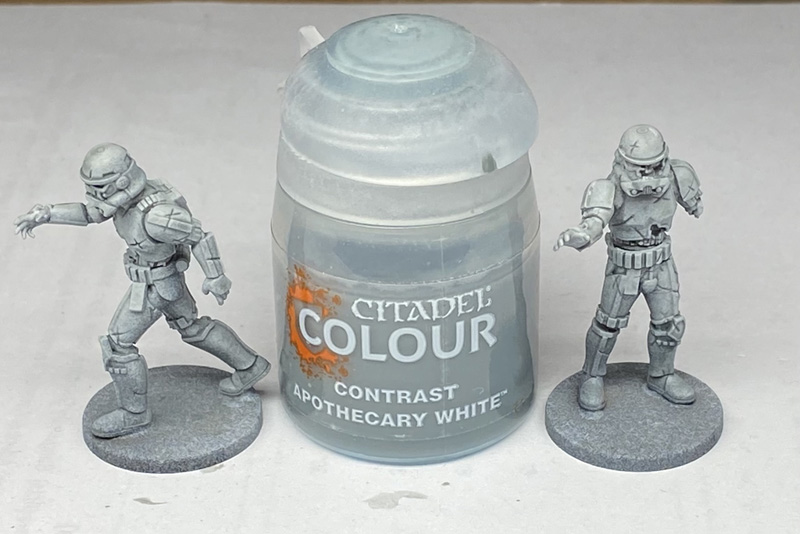
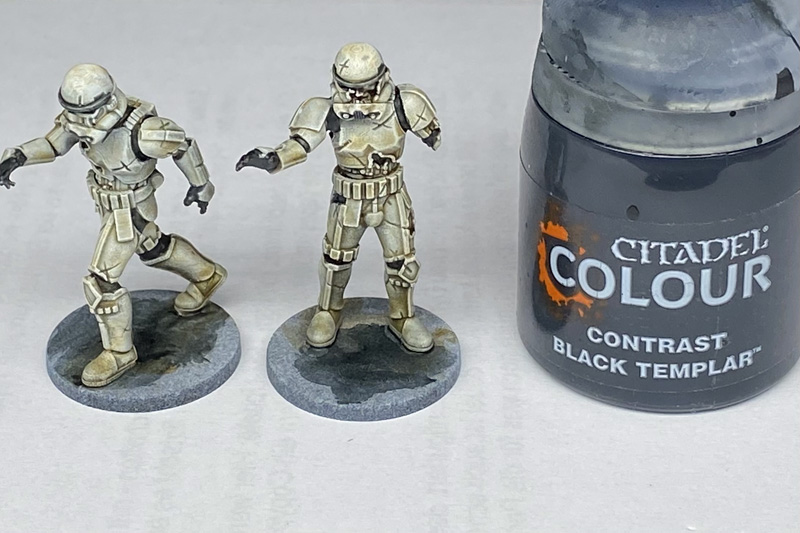
2 - Contrast paint
Time to apply some contrast paint, yes, these colours are expensive but they really speed up the process, I like them a lot.
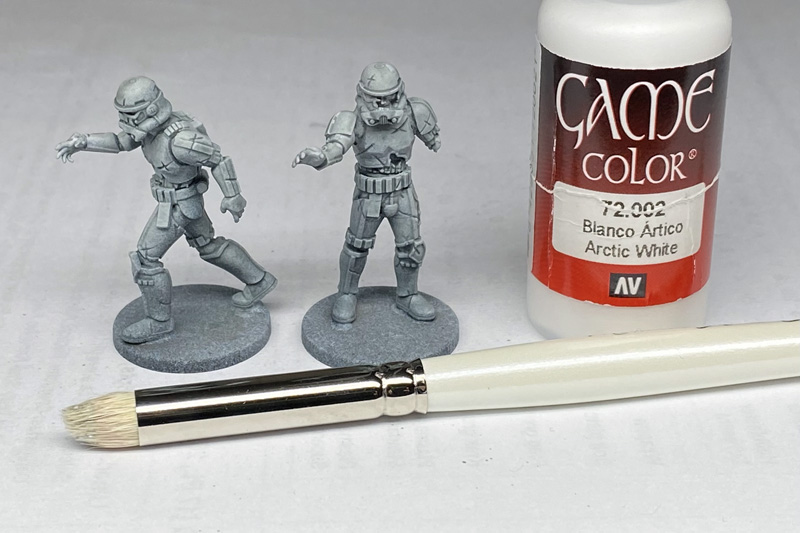
2 - Drybrushing
After letting the Contrast paint dry, I am applying a good old drybrush, any white will do, since you want to speed things up use a big drybrush!
After the drybrush the minis look like this:
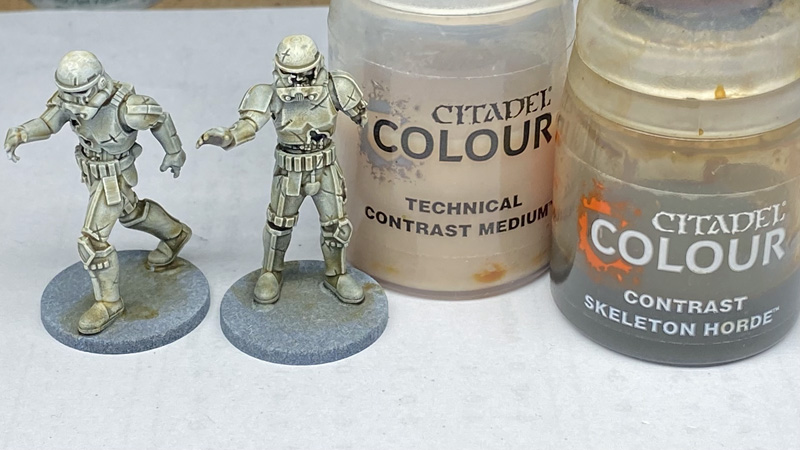
3 - Aging
Since I want the Zombies not as pristine as regular Imperial Stormtrooper, I am applying a thinned light brown (for me 2x Contrast Medium and 1x Skeleton Horde works fine)
The minis have a more dusty aged look then, almost done now, only some black, blood and sponging.
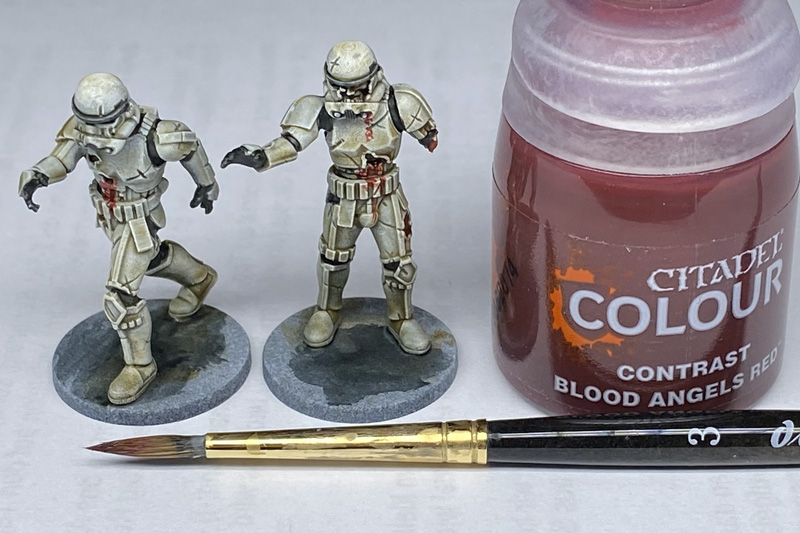
4 - Finishing up - More colours and details
Paint all non armour parts in black (again contrast paint!):
After the black get some blood on the Zs, I am nor a fan of too gory minis therefore I am not overdoing it!
Final step, sponge dipping on some parts (also a great way of covering some areas that are not as neatly painted as you wanted):
After that paint the bases in any way you like, apply a matt varnish and you are done.
|